
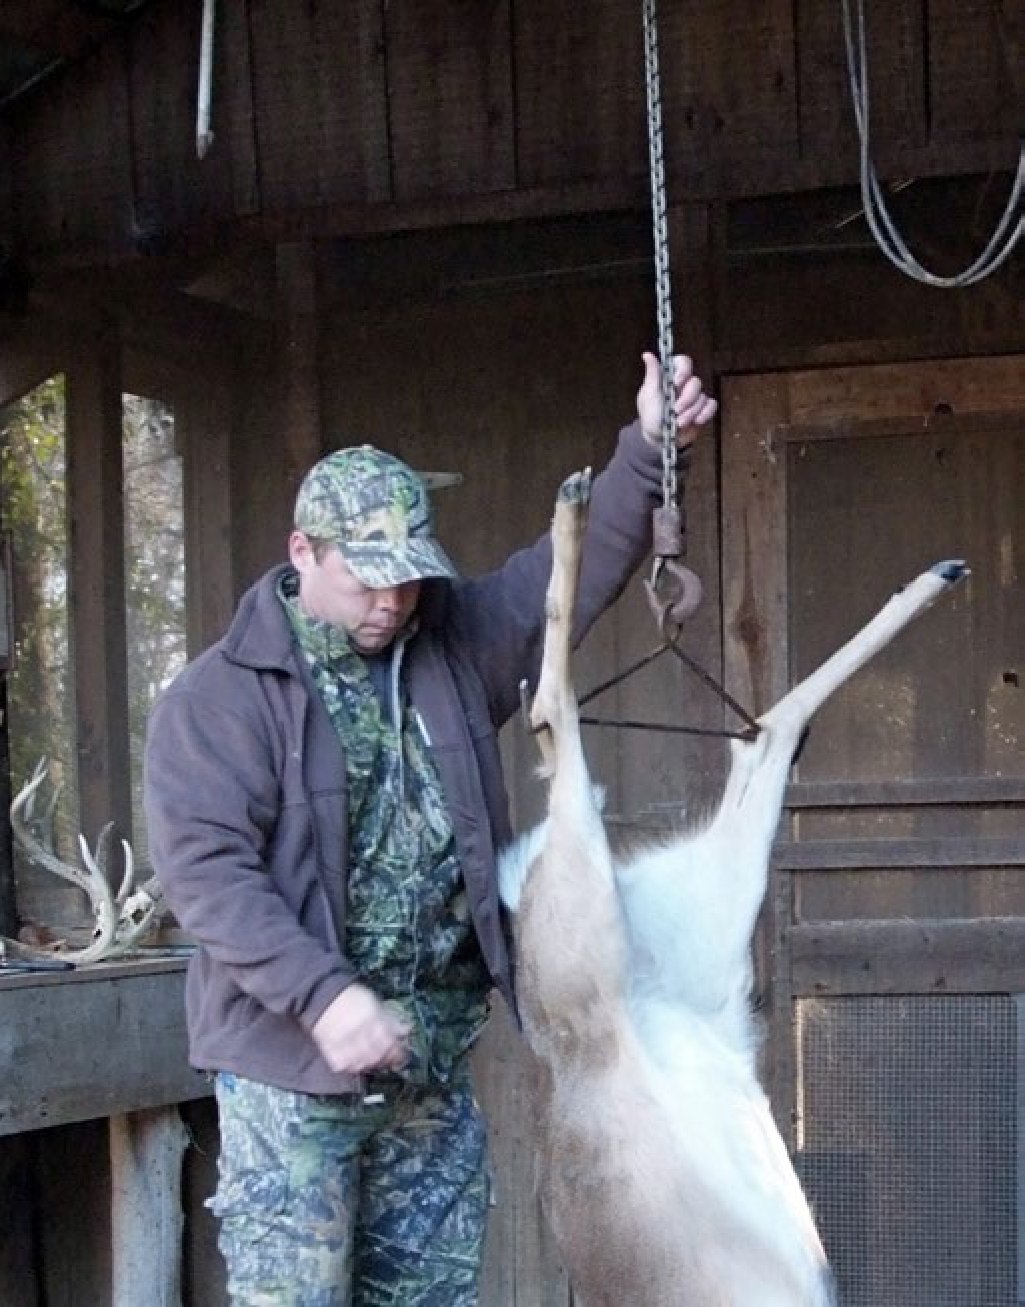
Prepare skinning shed for deer data collection
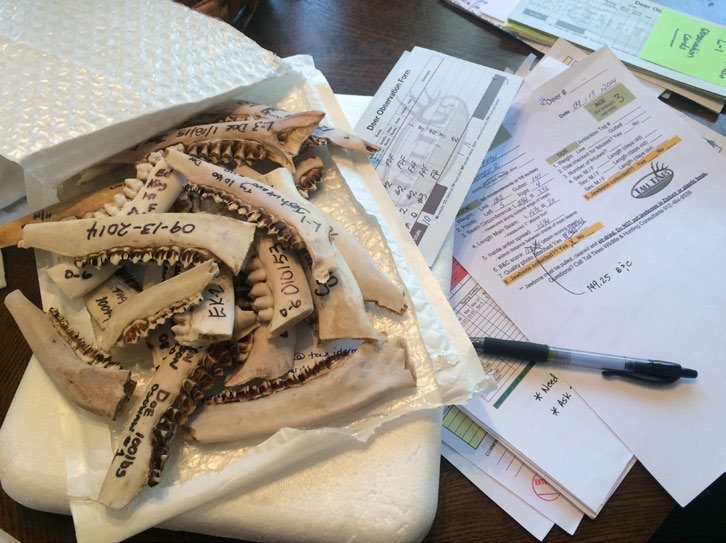
Deer season is right around the corner. Collecting information from deer harvested on your property can provide valuable insight to the status of your herd, the progress of your management strategies, and assist in making harvest decisions that will improve the deer herd and ultimately the hunting. Making sure your skinning shed is fully stocked and ready should be an annual pre-season activity. At a minimum, you should be collecting age (jawbone), weight, antler measurements, and reproductive data. Supplies needed include jawbone extraction tool, pruning loppers, wire basket to air-dry/store jawbones, sharp knives, permanent markers, pencils, weight scale, gambrel/rope for hanging deer, flexible measuring tape, instructions on how to collect and store harvest data (recommended if more than one person will be collecting the data), and harvest data sheets to record the information collected. General preparations may include sharpening and lubricating pruning loppers, calibrating weight scales, inspecting and/or replacing rope or cables used to hang deer, ensuring water source is working properly, and stocking/organizing the data collection area. The Quality Deer Management Association (QDMA) or Forestry Suppliers are great places to purchase supplies to collect harvest data including harvest data sheets. Collecting and analyzing harvest data is often the backbone to the success of a deer management program.
Manage mid-rotation pine stands with herbicides to improve food and cover for wildlife
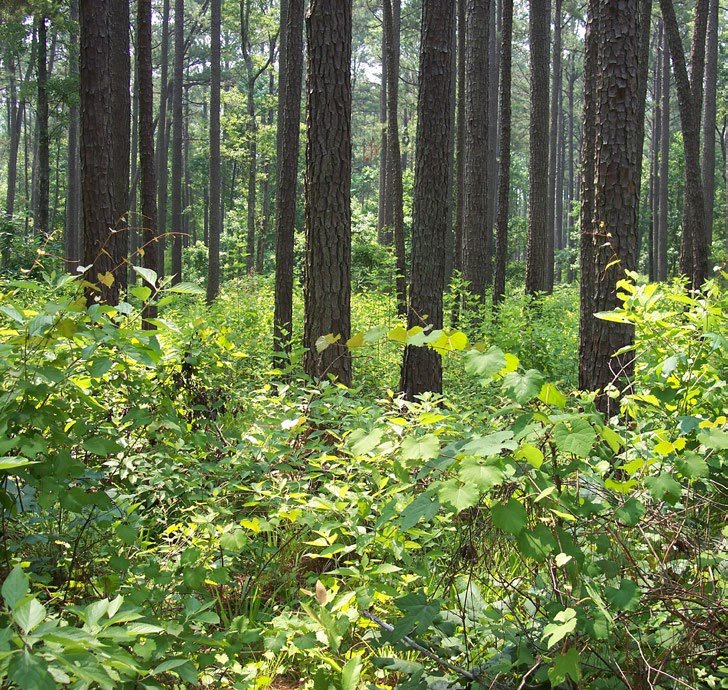
Although thinning pine plantations improves wildlife habitat by promoting development of food and bedding/escape cover, the responding vegetation often includes species such as sweetgum, waxmyrtle, gallberry, etc. that shade out and reduce desirable forage plants/vegetation over time. An effective technique to control undesirable hardwood competition, and promote quality deer foods, is through the use of herbicides such as imazapyr (Arsenal™). An application of imazapyr will minimize hardwood competition and promote development of higher quality wildlife food and bedding/escape cover within treated areas. While you can apply this herbicide throughout the growing season, it is most effective if applied from late summer until leaf drop in the fall. Furthermore, research has shown that one treatment of imazapyr can significantly increase growth and production of the remaining pine trees by final harvest, hence, generating a return far outweighing the cost of the treatment. Treating entire stands may be most practical from a timber production standpoint, but is not necessary from a wildlife perspective. For example, in a thinned pine plantation, simply applying herbicides via skidder/tractor down select thinned rows into the adjacent pine rows can significantly increase the quality and quantity of deer browse and ultimately raise the nutritional carrying capacity of the area. Once pine stands are treated, a prescribed burning rotation should be established thereafter. This technique is often referred to as a “mid-rotation” release. It is reducing hardwood competition and ‘releasing’ the pines for better growth. I often use this strategy (herbicide followed by fire) to create natural food plots within middle aged pine plantations. These areas create lots of great habitat and thus exceptional hunting opportunities for deer and turkey.
Condition and train hunting dogs.
Each September thousands of hunters and their dogs go afield and begin their hunting season. In many parts of the United States, particularly in the Southeast, September is the opening month for dove and early teal season, with shooting preserve quail season starting in October in many areas. In the Southeast, where temperatures in the nineties are not uncommon, all hunting dog owners need to condition their four legged friends beforehand and be familiar with the dangers a working dog can face in these conditions.
Many professional gun dog trainers recommend a warm weather training regimen of an hour in the morning and another in the evening. Run your dog and work on retrieving drills, building slowly as you go. Just as when you are starting a fitness program, workouts should start out slow and easy. Make the workouts fun and if needed, take frequent rest and water breaks. As in any training process you want to increase the duration gradually as the dog increases his endurance and becomes accustomed to the heat.

The onset of heat related problems can be quite subtle, so it is important to keep a watchful eye on your dog while training or hunting in warm weather. The different types of common heat-related problems that may be encountered while training and hunting are, heat stress, heat exhaustion and heat stroke. If your dog is not performing at his normal level, slow in reacting to your commands, panting, or simply lays down and does not want to get up, get him out of the sun and into a shaded area, allow him to rest and give him water in small quantities frequently. If there is a waterhole nearby, encourage the dog to get in it to cool its body temperature. We often provide our dogs with GATORADE or Pedialyte which helps replace electrolytes – similar to a drained athlete.
Check, repair and prepare deer stands for hunting season
While the best time of year to relocate or place new deer stands on your property is in late winter after the deer season has ended or very early spring (before green up), late summer or early fall is when you need to revisit these stands to tighten them back up, inspect for loose nuts/bolts, rotten or loose wood, or any other safety hazards. This is also a good time to check the shooting rails, padding, replace pull up ropes, and trim shooting lanes where needed in preparation for hunting season. However, do not over do the shooting lanes. Small openings are all that is normally needed to identify and shoot deer. Because we have so many deer stands on the property I hunt, we have started using flagging as a way of ensuring each stand is safe. That is, once a stand is checked, tightened, etc., we simply tie a piece of colored flagging on the base of the stand or the ladder. We use a different color each year. For example, this year we are using yellow flagging. So if you get to a stand this fall that does not have a piece of yellow flagging on it, you know that it has not been through “final inspection” this year and to use caution if you use it.
Develop a pre-season deer harvest plan that will maintain or improve your deer management program.
Monitoring the status of your deer herd is the backbone to the success of your deer program. Hopefully you have been collecting harvest data (weights, measurements, ages, etc.), hunter observation data, as well as conducting camera surveys. Collectively, this information is used to make sound deer management decisions that will help you achieve the goals of your program. If you haven’t already done so, ask a wildlife biologist to review your data or information and provide harvest recommendations before hunting season starts. Using trail cameras is a great way to assess buck quality and make buck harvest decisions before you head to the woods. Pictures from trail cameras will help reduce “mistakes” when judging bucks in the woods while hunting (where judgments are often made in seconds while your heart is racing 200 beats per minute!) While trail cameras are useful, a true camera survey is the most accurate method available to assess the status of your deer herd. September and October are normally the best months to conduct a camera survey (after bucks shed velvet but before the majority of acorns start to drop). If you plan to conduct a survey this fall, be sure to plan ahead. If you are doing it yourself, begin gathering all the equipment and supplies needed (cameras, batteries, digital cards, film, corn, etc.). If you plan to hire a professional, get on their schedule early. With the popularity of camera surveys, most wildlife consulting companies are booked well in advance of camera survey season (September – November).
Begin flooding duck ponds in early September.
Teal are usually the first ducks coming down the flyways as they migrate south for winter. Although it depends on where your property is located, you should expect to start seeing teal in late August through mid-September. To accommodate these waterfowl and/or to attract them for the early teal hunting season, flood at least 30% of your duck pond. To be most attractive, make sure there are some open water areas within the flooded area. The main reason for not flooding the entire duck pond is to delay seed deterioration caused by flooding. Seed deterioration rates, or the amount of time it takes for a seed to break down after being flooded, vary among different plant species. Most native wetland plant seeds are well adapted to flooded conditions and will last up to 3 months under water. However, most agriculture crop seeds break down much quicker. Thus, you only want to flood enough of your pond to provide early arriving teal with a food resource. Begin flooding the remainder of the pond in late October for the main flight of ducks. This will ensure the seeds you’ve worked hard to produce will remain longer into the winter to provide food and attract ducks. If you have never shot early season teal, you’re missing out. Teal respond to calling and work decoys well and they fly in fast, tight flocks which makes for some fast and furious shooting – notice I said shooting and not killing!! – they are tough to hit!
If you added annual clovers to your food plots last fall, September is the time to apply management to regenerate the food plots.
Incorporating re-seeding annual clovers into your fall plantings will allow you to extend the plot’s wildlife value by providing quality food sources through early summer. Without them, fall plots of small grain such as winter wheat and oats generally become less productive and thus less valuable for wildlife by early spring. If you have planted annual clovers such as crimson or arrowleaf clover, allow them to flower and seed out – which normally occurs in April – June depending on which growing zone you are in. The flowers are important for game birds, particularly quail and turkey poults. Flowers attract insects which are an important component in the diet (source of much needed protein) for very young turkeys that were hatched this spring. Although plots generally get weedy after the clover has seeded out (which isn’t always a bad thing), leave these plots alone until early fall. About three weeks to a month prior to planting time, mow the plots as low as possible, allow a week or so for the weeds to start growing again, and apply glyphosate (RoundUp) to knock them out and prep the plot for re-planting. If weeds were thick, you may consider burning the thatch off to expose bare ground (burning also enhances clover seed germination). Once the weeds die (or have been burned off), spread fertilizer, lightly disk the plot to expose bare ground and “stir up” the residual clover seed from last year, then plant annual small grains (wheat and oats). The key to the whole process is to not disk the food plot too deep. After the first planting, and if you’ve allowed last year’s clover to seed out, annual clovers will re-seed and come back every year – which not only provides great nutrition and extends the life of your fall annual plots, but will save you money on seed.

Install trail cameras to capture photos of deer
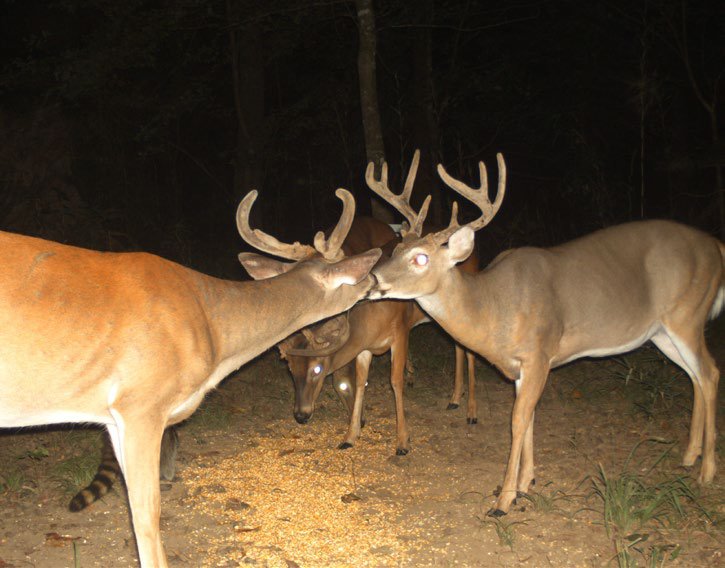
Depending on where your property lays in the whitetail’s range, antler hardening (shedding of velvet) has already taken place or will shortly. Late August or early September is a great time to begin installing trail cameras around your property to capture photos of bucks. During this period, bucks are congregated in loose bachelor groups allowing you to photograph multiple bucks together. Where to place the cameras depends on local food sources and deer activity. In some cases, attracting deer to a camera site with scattered whole corn is most effective. However, mineral licks that were created earlier in the year often make great camera locations, particularly if you have experienced wet conditions. Other locations that may be effective in late summer or early fall include entrance trails to large agriculture fields, along the edge of smaller food plots of perennial crops, summer food plots, or small water holes (if weather is warm and conditions are dry). Naturally, most hunters are anxious and excited to plug the SD card into a computer and run through the photos to see what kind of bucks they have, which is what I do. However, take time afterwards to do a little analysis of the photos. By counting the number of bucks and does in the photographs you can get an idea of the existing adult sex ratio which will help you make harvest decisions. Estimating the age of the bucks you photographed will shed light on the buck age structure. Obviously, a full scale camera survey will provide the most accurate and comprehensive information about the deer herd, but “random” trail camera photos certainly has a story to tell and can help you better understand the status of the deer herd on your property. All of this allows you to make better management decisions that lead to desired results.
Prune secondary roads
Because the growing season is essentially over, early fall is a great time to trim over-hanging limbs from your property’s interior roadways. Interior or secondary roads can become a jungle in just one growing season if not maintained. Have you ever ripped the exhaust pipe off your tractor with an overhanging limb, or had a limb slap you across the face while driving a golf cart down an overgrown road? Trimming limbs will help prevent equipment damage and/or personal injuries while using these roads. Removing these limbs will also help these roads dry out quicker by allowing sunlight and wind exposure on the road and in some cases will enhance natural wildlife foods along the roadsides due to the added sunlight.