
Control feral hog populations.
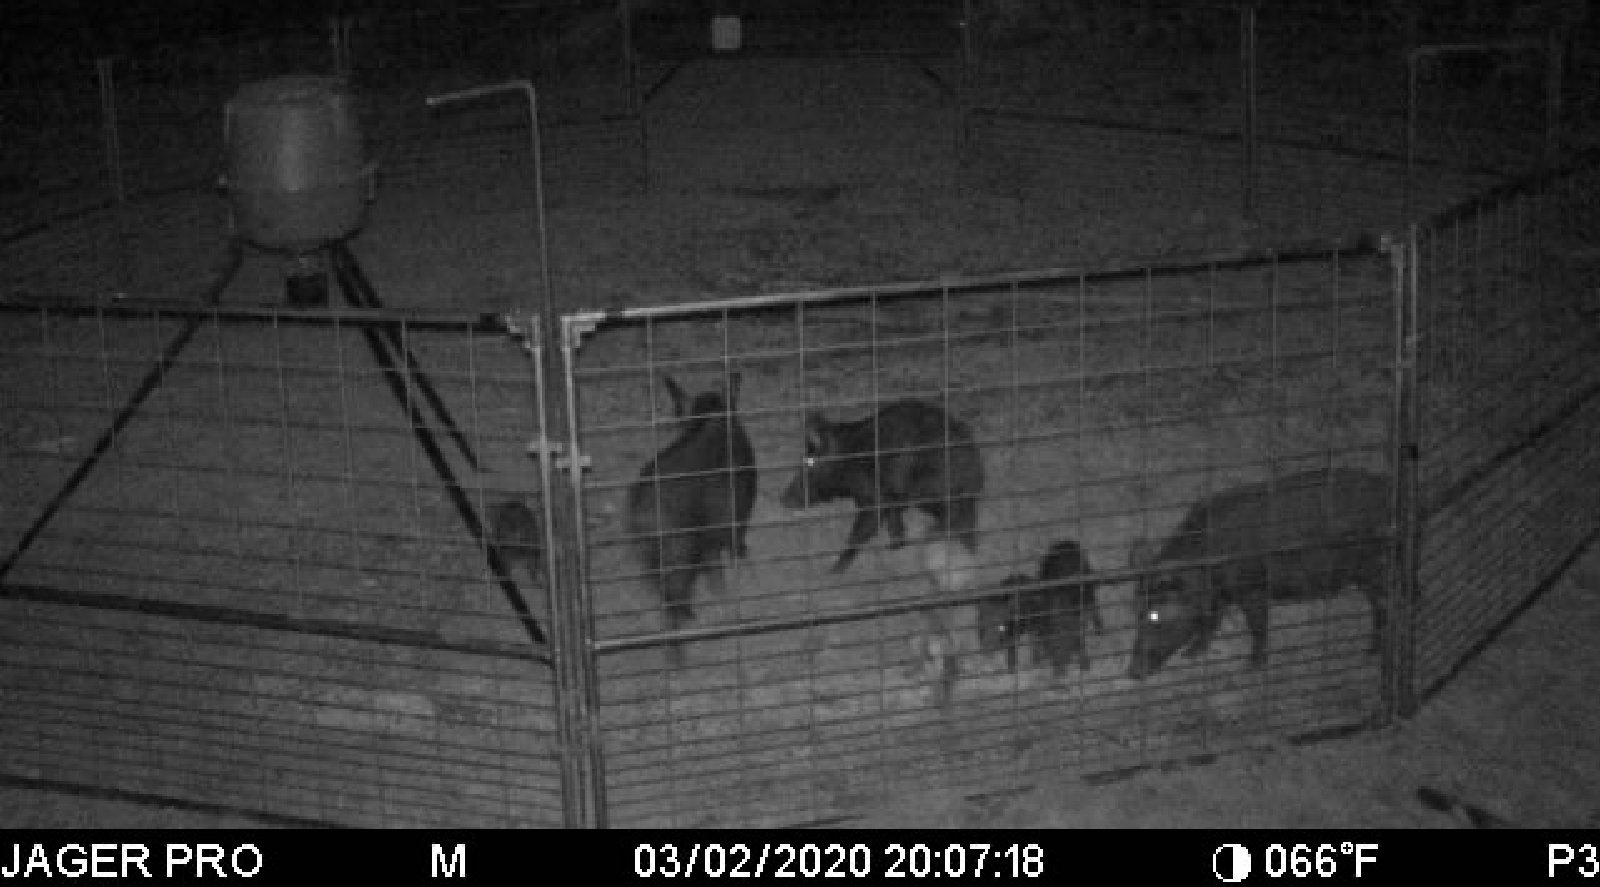
“Control” may be the wrong word to use here, but you get the point. Although removing hogs could be on your management calendar throughout the year, summer is a good time to put extra effort into this since it often causes a moderate disturbance on your property. Hog populations are rapidly growing in many areas and are causing significant damage to wildlife habitat, food plots, roads, etc. wherever they exist. One reason it is difficult to “control” hog populations is that they are very productive and may have up to 3 litters of young per year! Thus, exponential population growth can and does happen if resources are adequate. The most effective way to remove hogs is through trapping. Be sure to do some research before you simply throw a few traps out. Specific trapping techniques have proven to be more effective than just baiting a trap and catching a hog or two each time. Since converting to using corral type traps with remote user deployed gates, I have abandoned the use of “old school” single traps. The corral traps have proven to be quite effective and efficient. Another effective strategy, but more costly, is hiring professional hog hunters that use either night vision equipment and/or dogs to harvest hogs. Simply shooting hogs when opportunities present themselves helps, but is not as effective as an “all-out war” against them.
Plant chufa for turkeys.
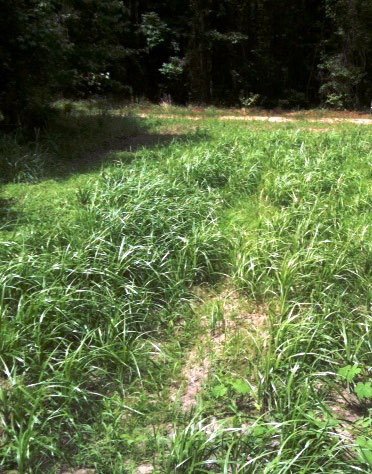
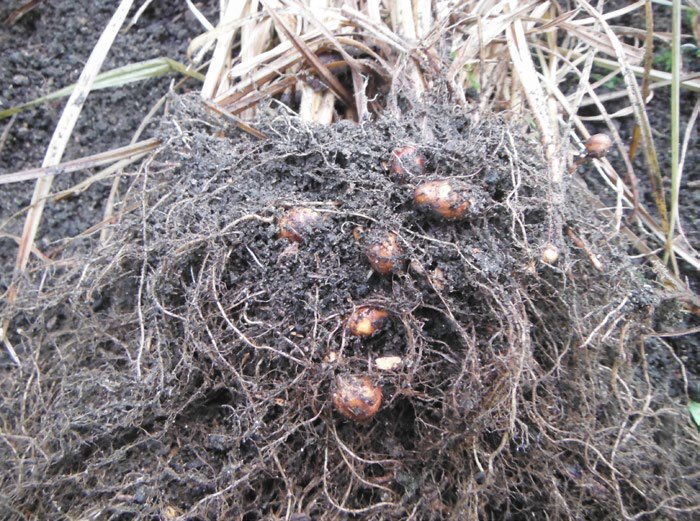
Chufa can be planted in May or June in the Southeast, but most plantings occur in June when summer rains start. Monitor chufa plots for competing grasses and weeds and apply herbicide accordingly to control. Adding chufa to your planting program can be quite rewarding if you like to see or hunt turkeys. Turkeys primarily utilize chufa in the fall, winter and spring once the tubers have developed. If your turkeys have never seen chufas, you may need to lightly disk a strip through the patch in late winter to expose tubers. Once turkeys find them, you will not be able to keep them out. A word of caution – raccoons and hogs like chufas as well and can pose problems in some areas. Hogs can be so bad that I do not recommend planting chufa if you have hogs. They often demolish the area once they find a tuber. Chufa patches can often be regenerated the following spring by lightly disking the areas. There has to be adequate chufa seed remaining to regenerate an adequate stand (there’s often more left than you may think). To regenerate the stand, lightly disk the plots once in April, again in May, and once more in June. The key is to continue disking each month regardless of how nice your plot is growing with chufas – it’s going to kill you, but do it. Be sure to rotate your chufa patches every 2-3 years to avoid nematode problems.
Take advantage of dry duck ponds – maintenance, repairs, and build hunting blinds.
Unless you are keeping water on a duck pond to act as a weed screen until it will be drained later this summer for planting, now is a great time to make needed repairs to water control structures, catwalks, hunting blinds, and levees. While the pond is relatively dry, I often lubricate and check water control valves to ensure they work properly. This is also a good time to remove muck that builds up in front of drain pipes or along pond edges. In some cases, re-leveling with a tractor may be needed. If you use flash board riser type water control structures, pull and clean all the boards – make repairs where needed. This is also a great time to inspect duck blinds and perform routine maintenance or repairs as needed, or build new ones. From a habitat management standpoint, this is also a good time to inspect and treat the pond area for undesirable vegetation such as sesbania, willows or other non-desirable species.
Identify and control invasive exotic plant species.
Exotic species are very competitive with native plants and can take over your property and compromise habitat quality. The best time to control or eradicate exotic plants is often during the growing season. Strategies to control these plants vary depending on the species at hand. However, herbicide (and fire in some cases) will likely be the tool of choice. It is much easier to control exotic species if you catch them in the early stages of colonization. Once they have a foothold, eradicating can be extremely challenging. Some of the common invasive exotics in the Southeast include Cogongrass, Chinese tallow tree, Kudzu, Chinese Privet, Chinese Lesedeza, and many others. A great field guide to keep on hand is “Nonnative Invasive Plants of the Southern Forest” by James H. Miller. You can get this publication from the USDA Forest Service – Southern Research Station at Auburn University or visit http://www.bugwood.org/weeds/forestexotics.html. This guide has information regarding identifying invasive exotics as well as methods of controlling them. Another resource is the Florida Pest Plant Council – www.fleppc.org. It is also wise to consult a professional herbicide applicator before deciding which herbicide and method to use. Besides the complex world of herbicides themselves, mixing and applying them can sometimes be complicated as well. However, properly applying herbicides is nothing to be afraid of. You simply need to understand how herbicides work, which plant species they control (or not control), and the techniques to apply safely and effectively.
Conduct warm season or summer prescribed burns.
Warm season burns are an exceptional tool for managing quail habitat. Warm season burns are generally conducted from June through August. However, extreme caution should be used when conducting summer burns. Due to higher ambient air temperatures and low relative humidity, summer fires can get very hot and difficult to control. If the area you plan to burn has a heavy fuel load (understory shrubs, grasses, and thatch) or has not been burned in over 3 years, I recommend initially conducting a cool season burn (December – March) to reduce fuel loads before attempting a summer burn. Fire rotations (interval of time between burning the same area again) for summer burns vary depending on your goals and habitat types but are generally every 1-2 years to promote quality wildlife habitat. Regular warm season burns will often promote native warm season grasses that are desirable for quality quail habitat. It is also a good idea to strategically plan your burns so that you always leave some areas unburned. This will help to maintain diverse habitat types which will enhance the wildlife value of the area. Always check local burning laws and consult with an experienced burn manager before lighting a woodland fire. The U.S. Forest Service or your state forestry commission are great sources for obtaining more information regarding burning in your area.
Improve habitat edges.
Most game species of wildlife travel, feed, and thrive along habitat edges. Habitat edges or “ecotones” occur where two habitat types merge or join. The most noticeable are edges created where woods meet fields, but edges can be as subtle as the transition of a brushy creek to a stand of young hardwoods. Improving the quality of edges and the food and cover they provide will increase the wildlife value of your property. Although “interior” edges are more difficult to manage due to access, improving the quality of edge habitat along roadsides, food plots, and fields is relatively easy. There are many methods used to enhance edge, but applying selective herbicides generally produce the best and longest lasting results. Application of herbicide can be made with a backpack, 4-wheeler, ATV, or tractor mounted sprayer. Simply apply herbicide along the edge spraying as far into the edge as you can. The goal is to remove undesirable mid-story woody species such as young sweetgum and ash trees to encourage increased growth of plants that will benefit deer, turkey, and quail, like legumes, forbs, and blackberry species. If possible, include these areas in prescribed burns the following year to remove “skeletons” of the trees and underbrush you killed via herbicide and to stimulate additional desirable plant species. Another tip is to include managed edges when you fertilize food plots or fields. In addition to removing undesirable trees/shrubs that compete for sunlight and nutrients, fertilizing these areas can significantly increase the amount of foliage the remaining desirable plants produce.
Initiate management of beaver ponds for creating and attracting waterfowl this winter.
Similar to cultivated duck ponds and green tree reservoirs equipped with water control structures, beaver ponds can be managed to produce duck food to attract waterfowl and provide great hunting opportunities. If quality mast producing trees are still alive in the beaver pond, manage the pond as a green tree reservoir – meaning apply a slow draw down before spring green up. While most oak species can tolerate being flooded over dormant season, few do well and often die if their feet stay wet well into summer. If few quality trees exist or if trees are already dead (from constant/unmanaged flooding), you have a few options on management strategies. First, you could drain the pond early in the growing season (at spring green up or very early summer) to allow natural wetland/moist soil plants to germinate and grow throughout the summer. Many moist soil plants produce seeds which are quality duck foods. A slower draw down over several weeks will result in a more diverse species composition of plants providing a variety of seeds/food. Another option would be to hold water on the pond until early summer, drain the pond, then broadcast small grains such as millets. I personally like Japanese millet because it easily germinates on mud flats with little or no site preparation, grows well in wet soils, produces an abundance of seeds, and if water is properly managed it will often reseed the following year. Planting grain in a beaver pond is relatively easy. Simply broadcast seed at the recommended seeding rate per acre onto exposed mud flats. Although fertilizing is not essential to success, it can help. I rarely fertilize broadcasted crops in beaver ponds and have had great success without it.
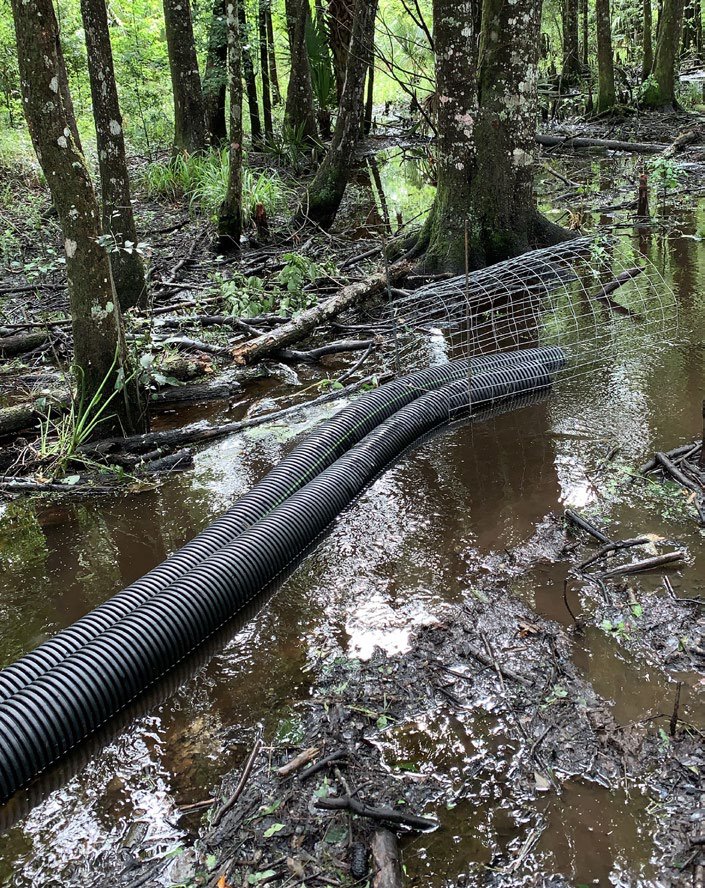
Now to the hard and messy part – water control. To consistently manage a beaver pond successfully for ducks, it is necessary to drain the pond by breaking the dam and installing a drain pipe. Generally speaking, this means a 6′-10″ corrugated pipe that extends well into the pond with many perforations along its length to prevent beavers from patching the leak. Although it is messy, and certainly watch out for water moccasin/cottonmouth snakes, breaking a beaver dam is often not as difficult as it seems and can normally be done with a fire rake. Break the dam on the downhill side of the existing channel in the form of a narrow, deep “V”. The initial flow of water through the dam will help clear excess dam materials. Place the drain pipe deep into the break so that at least 10′ of pipe extends both upstream and downstream of the dam. The final level of the pond will be determined by the height of the downstream end of the pipe, or the stand pipe position height. There are many options for beaver pond drain pipes. The key is to install a pipe that is designed to prevent beavers from “patching the hole”, yet does not drain the pond completely so that beavers remain in the pond. Always leave at least 1/3 to 1/2 of the pond area undrained during drawdown, as over-draining may cause the beavers to seek new areas. There are many homemade and fabricated designs that can be found by doing a little internet research. If you do not use a drain pipe that allows you to adjust the water level, you will need to remove the drain pipe approximately 45 days after natural moist soil plants or your planted crop germinates. This will allow beavers to patch the break in the dam resulting in the pond flooding. Using this method often requires re-breaking the dam and re-installing a drain pipe higher in the dam to maintain the desired water level. I like the Clemson Pond Leveler as it is a great and relatively permanent design that allows you to control water levels by adjusting a standpipe on the downstream side of the dam.
Install new food plots or expand existing ones.
From a landscape level, actively managing nature habitats should be one of the highest priorities for landowners desiring to enhance wildlife value of a property. Having said this, we all know the wildlife value created by dedicating land to actively managed food plots. Because all properties are unique with various habitat compositions, forest ages, diversity, timber management strategies, agricultural practices, and management on neighboring lands it is impossible to provide a “cookie cutter” amount of acreage that should be dedicated to food plots. However, if adding more acreage in food plots is in your plans, summer is a good time to create new ones or expand existing plots. I personally like to plan and mark/flag areas needing clearing during winter months while leaves are off allowing me to see the area better. Another advantage of doing this during winter is there are no snakes, ticks, and chiggers to worry about! I then come back in summer to do the “dirt” work. Through years of experience, I am a big fan of using mulching machines when creating new food plots, expanding existing ones, expanding roadsides, or creating new trails. A mulching machine, also referred to as a forestry mulcher, uses a rotary drum equipped with steel chipper tools (or teeth) to shred vegetation. Heavy duty forestry mulchers can clear up to eight or ten acres of vegetation a day depending on terrain, density, and type of material. However, 5-8 acres per day is more realistic for most applications where I’ve used them. The advantage of using a mulcher is only needing a single machine to cut, grind, and clear vegetation verses needing a dozer, backhoe and farm tractor to do the same job. Mulching is essentially a one-pass and done type process. Because the vegetation is grinded into chips there are no debris or root piles commonly associated with dozer type clearing.
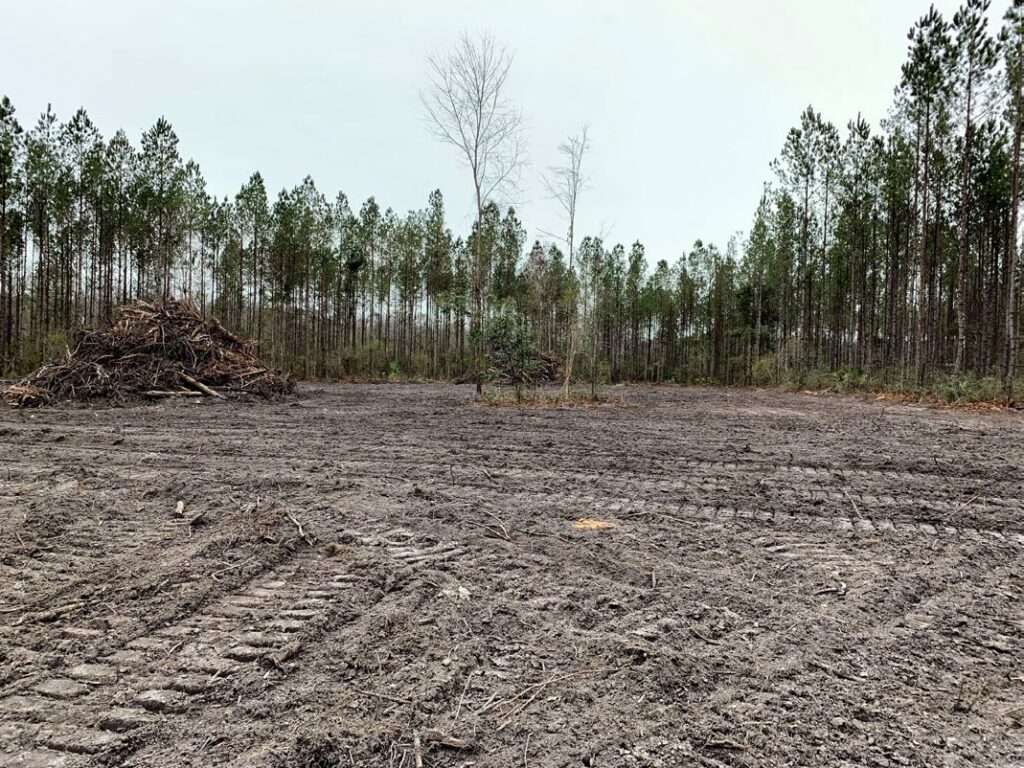
Another advantage is mulchers are capable of clearing land of unwanted trees and brush with limited disturbance to soils leaving more nutrient rich top soil and reducing the risk of erosion. From a location and design standpoint, I always consider soil quality, hunting stand placement, preferred wind direction for hunting, hunter access, and obviously what the land, terrain, and habitat will allow. Where possible I try to create linear shaped food plots. Deer, particularly mature bucks, feel more comfortable and secure using linear plots which results in more sightings and harvest opportunities while hunting.
Examples of this may include a “turkey foot”, “V” shape, or “hub and spoke” – aka “wagon wheel” shape. When expanding existing rectangular food plots I often add linear “ears” or “fingers” that extend from the core food plot area. In this situation, deer often enter the fingers first then work their way to the more open plot. Regardless of the methods used to clear the land or the shape you design, summer is a good time to conduct this work. Doing so allows plenty of time for working and amending the soil in preparation for fall plantings.