October/November 2012
Create a seed scale to ensure accurate seeding rates are applied when planting food plots.
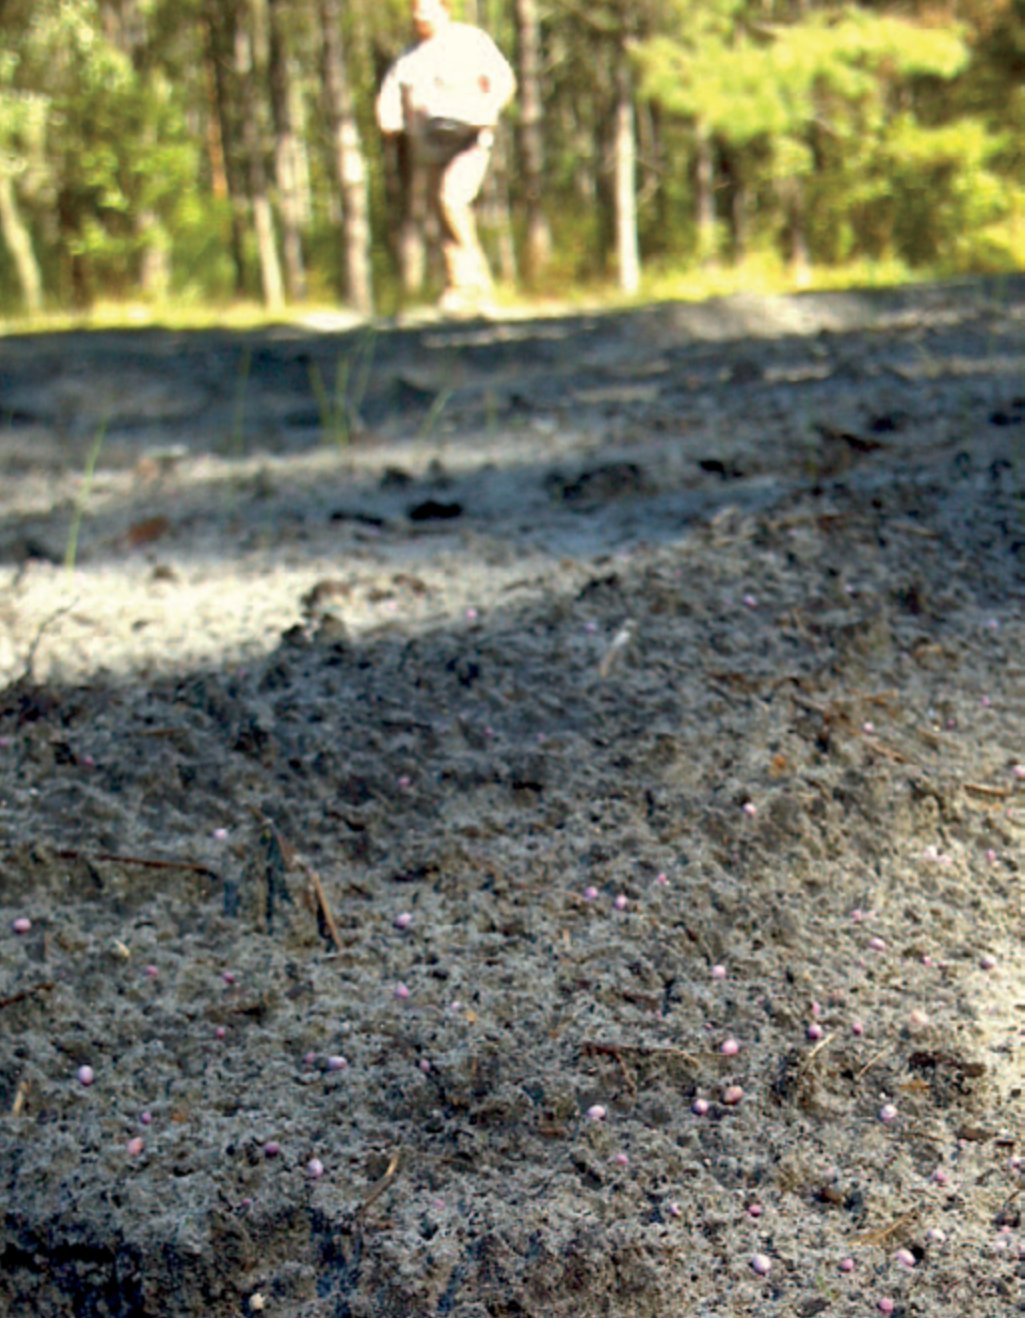
How many times have you ever been in the woods planting a food plot and had to guess on the amount of seed to pour into the spreader for that particular food plot? Here’s a tip that will help you more accurately measure the amount of seed to put in the spreader. Before going to the field, use a bucket (3 or 5 gallon size works fine) to weigh the various types of seeds/blends you are using. Once you are at the desired weight for each seed type (e.g., 10 lbs. of oats), use a sharpie to place a mark (and weight) on the bucket. It helps to use a clear bucket so you can see the outline of the seed from the outside. Due to the size and weight variations in different seeds or blends, you will need to follow this process for each of the different seeds or blends. For example, you may have a mark for 10 lbs. of oats and another for 5 lbs. of crimson clover. Once marked, the bucket can serve as an accurate “measuring cup” to measure seed being placed in the spreader. This will ensure proper seeding rates are applied on the acreage you are planting.

Coordinate food plot planting with desired soil conditions.
Generally speaking, October through early November are the best months to plant fall food plots in the southeast. The goal is to plant when conditions are favorable for maximum seed germination and plant growth. Don’t fall into the trap of planting too early. Unfortunately, many landowners and hunters plant in early-mid September. Some hunters, particularly hunting clubs, even pick a specific weekend that food plots will be planted well ahead of time and do not have a clue what the soil conditions will be like….but they plant anyway because “that’s when we plant every year”. This is often a very dry period across the southeast which will lead to food plot failure. If planted in September, and you are lucky enough to receive adequate rainfall, food plots may grow rapidly which will result in over mature (i.e., high/tall) food plots by the time hunting season arrives. This is very common during when an abundance of acorns are present (which seems to be the case this year in many areas of the southeast) because deer use of the food plots is limited allowing it to grow. There is also a higher chance of army worm problems if temperatures are still warm. In most areas of the southeast more consistent rainfall events begin in October as cold fronts move south. Planting “later” (meaning in October-November) will also result in young, tender food plots that are very attractive to deer and other wildlife during hunting season. Very young and growing food plots are very attractive to deer. When planted under the right conditions (adequate soil moisture), deer will begin using most fall food plot plantings within two weeks after planting. My point is to not feel rushed to get seed in the ground and focus on planting under favorable conditions. There have been several articles related to food plots and planting strategies in past issues of Wildlife Trends. Refer to these articles for more detailed information.
Build and install enclosures on your food plots.
Enclosures are simply small fenced structures that are placed on food plots to observe or monitor deer use of the plot and food plot success. The enclosure does not have to be big, just enough to prevent deer from eating a small area of the food plot. In general, enclosures are nothing more than a short length of 4 foot hog-wire fence that is “rolled” and fastened with either wire or zip-ties to create a tube with a 2-3′ diameter opening. The enclosure can then be placed on a food plot and fastened to a stake. Enclosures are particularly helpful if you have a high deer density. I’ve often seen food plots in areas with a high deer density appear as though the plants never germinated. The landowner or land manager is beating himself up because he is thinking that he did not plant the food plot correctly, or that the particular seed mix he planted isn’t growing well on his property. The fact is that deer have literally eaten the plot to the ground before it had a chance to grow (in this case, I would consider installing more food plots or, depending on your goals, planting to reduce the herd!). A food plot enclosure will help answer these questions.
Hold a preseason meeting with your hunting club or people that hunt your property to discuss the progress of the deer management program and harvest strategies planned for the upcoming season.
Holding a preseason meeting to discuss the deer management program and deer harvest plans for the upcoming season will ensure everyone is on the same page before the season kicks off and hunters head to the woods. Hopefully you have been collecting harvest, hunter, and population data regarding the deer herd. Use this information to assess the status of the deer herd and how the herd has or is responding to your management strategies. A preseason meeting is a great time to review this information, make harvest decisions for the upcoming season, and share with the group or hunters using the property. As a biologist, I often present this information to hunting clubs or landowners with recommendations for the upcoming season. These meetings are most effective if held just prior to hunting season to ensure the information is fresh on hunter’s minds. This is also a great time to review general rules for hunting, discuss housekeeping items around the camp and property, and develop management and/or maintenance project lists. I often see these meetings tied into a work day or work weekend at the property.
Conduct a camera survey to assess the status of your deer herd to make sound/educated deer harvest decisions before you start hunting.
Monitoring the status of your deer herd is the backbone to the success of your program. Collecting and recording harvest data (weights, measurements, ages, etc), hunter observation data (number, sex, and quality of deer you see while hunting), as well as population surveys (such as spotlight counts or camera surveys) provides you information about the deer herd that will allow you to make sound deer management decisions and adjustments in strategies where needed to accomplish your goals. Without this information you are simply guessing. If you are like me, you spend way too much time, money, and energy managing your property to just guess on how many and which deer to harvest this season. I want to know. Conducting a camera survey is the best tool available to assess the status of your deer herd (number of deer, buck quality, fawn recruitment, etc) and make buck harvest decisions before you head to the woods. The best times of the year to conduct a deer survey is when natural food availability is at its lowest which is generally late summer/early fall and late winter before spring green up. Most managers conduct fall surveys (September through early November) because they also use the photographs to make buck harvest decisions before hunting season.
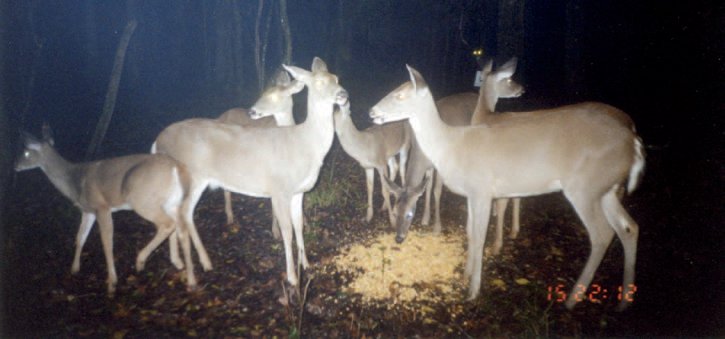
Conducting a camera survey is more than simply putting out a few trail cameras. A true camera survey, one that is used to determine population characteristics of a deer herd, requires establishing bait sites across a property at a density of 1 site/100 acres (this may vary depending on habitat quality and diversity). These sites are systematically established across the property and within all habitat types present. Each site is pre-baited for a week or so to attract deer to the site. Once deer are using the sites heavily, cameras are placed at each site and operated for 10-14 days or until no new bucks are being photographed. The photographs taken during this period are used to estimate the population and its characteristics. Analyzing the pictures is not as easy as simply counting the number of bucks and does photographed, it is a somewhat complicated process that requires counting total does and bucks photographed, identifying the number of unique bucks photographed, estimating their age, and plugging this information into mathematical formulas. Although some landowners/hunters conduct camera surveys themselves, most consult with or use a wildlife biologist to complete a survey. For more detailed information and help in understanding how to conduct a survey purchase “Deer Cameras: The Science of Scouting” from the Quality Deer Management Association.
Regardless of whether you conduct a full scale survey or simply use cameras to scout, photographs from trail cameras are a great tool to assess buck quality and make buck harvest decisions before the moment of truth in a deer stand. I have seen many young bucks with great potential make it another year because they were placed on a “do not shoot” list. If you are using the trail camera photographs to make buck harvest decisions late summer or early fall in you need to deploy them. We generally try to conduct our surveys soon after bucks shed velvet but before the majority of acorns start to drop.
Calibrate deer scales before hunting season.
Whether the scales you use to weigh harvested deer at your hunting property are 10 years old or right out of the box, they should be calibrated each year before hunting season to ensure accurate weight data is collected. To calibrate scales, simply hang an object of known weight from the scale (e.g., 50 lbs bag of feed, tractor weight, etc), along with your gambrel (normally a triangular metal hanger used to attach deer to scale), then adjust the scale to the known weight if needed. Although there are many makes/models of scales available most have a calibration screw that can be easily adjusted. Also note that it is not uncommon for a calibrated scale to read something other than “zero” when idle. Recording accurate weights from harvested deer provide insight to the health of deer on your property and will assist in making management decisions (herd and habitat) to achieve overall goals.
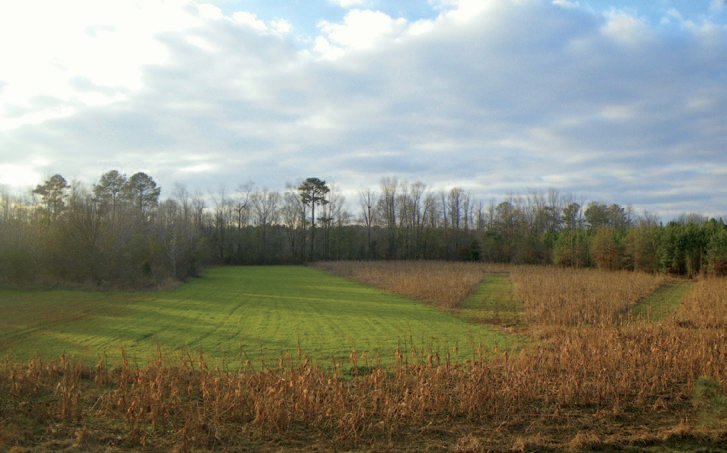
If you plant corn or lease to a farmer that plants corn on your property and you haven’t already harvested it, consider leaving a section of standing or un-harvested corn to provide cover for deer and additional hunting opportunities.
Although in years past I never recommended planting corn for feeding deer, I now realize the “cover” value it provides for deer in the winter and how great it is to hunt in and around. I still never recommend planting corn for feeding deer. It’s simply not worth the farming time and effort when you can get more for your money out of a 50 pound bag of whole corn from the CoOp. However, if you have corn planted on your property, leave some standing for deer. Standing dead corn is not only attractive to deer from a food standpoint, but provides great travel corridors to connect woodlots or mature timber. In some situations, deer will “funnel” through mature woods to enter the corn as their travel path. This make for some fun hunting in the mature woods near the corn. Mowing a wagon wheel pattern or hub & spoke design in the corn also makes for some great hunting. This is particularly true on very cold mornings. Standing dead corn also provides great winter habitat for quail and turkeys. Leaving a border of standing corn around a field also provides valuable wildlife habitat and creates a soft edge.
Conduct pre-season projects that will help reduce or minimize deer hunting pressure and disturbance.
Hunting pressure and disturbance on a property significantly impacts the hunting quality or number of deer you will see. I have lots of hunter observation data that shows as more pressure is applied fewer deer (particularly mature bucks) are seen. Here are a few things that will help minimize hunting pressure: 1) Position stands around food plots so that hunters can enter and exit them without spooking deer. By this I mean place stands slightly inside the woods and/or plant a “screen” that will protect the hunter from being seen by deer in the field. Good screens include standing summer crops such as corn, Egyptian wheat, Sorghum Sudan. Other more permanent screens (which I prefer) include switchgrass, or evergreen type shrubs or conifers. Once stands are placed inside the woods, simply cut shooting lanes for hunters to see and harvest deer on the food plot. 2) Inspect stands to make sure they are safe, but from a disturbance standpoint, check for noises. Oil squeaky chairs, windows, doors, etc. Move around in the stand. Does it creak? Find the source and fix it. Ladders may simply need to be tightened. These little noises can ruin a hunt and disturb deer for future hunts. 3) Cut and clear trails for hunters to get to and from the stand without making a lot of noise. 4) Determine favorable wind directions for each stand and do not hunt the stand unless the wind is right. At my camp, we have a list of stands for each wind direction. We check the wind, review the list, and hunt accordingly. 5) Look at a map of your property and determine which roads will impact or disturb deer or other wildlife. Close these roads down before and during hunting season and only travel them on a “need to” basis. Besides properly managing the deer herd, the key to having high quality hunting experiences is to keep disturbance on the property to a minimum.
For more detailed information on managing hunting pressure refer to an article titled “Steady Under Pressure” that was published by Wildlife Trends (Volume 11, Issue 1).
Save leftover seed from fall food plots.
If you have food plot seed leftover after planting this fall, save it. Some seed can remain viable for a long time and can be used next year; particularly if it is stored in a dry/cool place (I often use a walk in cooler to prevent problems with rats and bugs). When planting time comes around next year simply conduct an easy germination test to determine if the seed is still good. Take 10 seeds and place them in a moist paper towel in a window sill. Monitor and keep the towel wet over the next week to 10 days. If 6 of the 10 seeds germinate then your germination rate is roughly 60%. Adjust planting rates accordingly to ensure adequate coverage is obtained. Don’t toss that old seed out – planting old seed can save you money.

Record and utilize deer hunting observations.
Quality deer management involves more than producing quality bucks. It should create quality hunting experiences as well. Collecting hunter observation data (where hunters record the number of deer and quality of deer they see while hunting) allows you to monitor the hunting quality of the property. Adjustments in management strategies can be implemented accordingly to promote quality hunting. Additionally, hunter observation data is a great (and cheap) method to help assess some parameters of the deer herd. Although a camera census is, by far, the most accurate way to collect information regarding the deer herd, trends in population parameters such as the adult sex ratio, buck quality, and fawn recruitment can be monitored with hunter observation data. However, for this data to be meaningful, it must be collected accurately each year to track trends in the data. Hunter observation data is also a good way to assess hunting strategy success.
When recording this information, hunters generally record when and where they were hunting (e.g., PM-food plot, AM-woods, AM-clear cut, etc.) and what they saw. When the data is analyzed, it provides insight as to which hunting methods and which areas are most productive for the property. For example, through hunter observation data collected throughout the season, you may find that hunters saw more mature bucks per hunt in thinned pine stands in the morning verses the afternoon. Thus, you can adjust your hunting strategies to enhance the productivity of your hunting time.
Make final preparations for duck season.
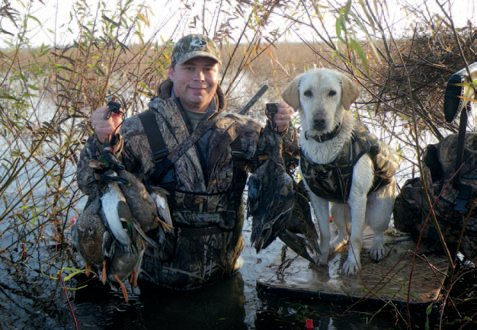
By early November, flooding strategies on managed duck ponds should be well underway. Teal are generally the first to arrive in September followed by the fall migration of other waterfowl. In most areas the general duck season opens in November. There is nothing worse than looking forward to the first duck hunt and before daylight of opening morning realizing that your waders have dry rotted or that your duck blind is full of fire ants! Make preparations now to ensure you are ready to have a fun and successful hunt. While everyone’s situation is different, a few items I recommend checking include waders or rubber boots, boats (lots of things to check here), paddles or push poles, lights, decoys and rigging, obstacles along paths to and from duck hunting blinds, the blinds themselves, platforms for dogs, and shotguns…to name a few. I say all these things from experience!