
February/March 2015
Although habitat management ranks much higher on my priorities, intense and routine predator removal can benefit game species.
Scout for new deer stand locations.
Late winter/early spring is a great time to be outdoors and the perfect time to learn more about your property, find areas that could be improved, and figure out how deer or other wildlife use your property. Learning these things will help you maximize the value and use of your property. I often use squirrel hunting as an excuse to be in the woods learning a property and scouting for deer sign. Squirrel season runs through February in many states and can offer some great excitement. As I have mentioned in past calendars, February and March is my favorite time to learn how deer use a property and strategize on new stand locations. Because deer have been exposed to a great deal of hunting pressure over the past few months, they are using areas that they are most comfortable in and feel safe. If you find out where they are “hiding” now you will know where to find them next season once the hunting pressure builds and deer seem to disappear. During this time of year, buck sign such as trails, rubs and scrapes are still fresh. Relocating stands now allows deer to get used to seeing them over the summer. Although you will have to touch them up before the season starts next year, late winter is also a good time to trim shooting lanes around deer stands. Late winter or early spring scouting also reduced the need to conduct full-scale scouting missions right before or during the hunting season next year. Scouting during that time of year leaves a lot of scent through the woods and in key areas you plan to hunt adding to existing “hunting” pressure altering deer movement.

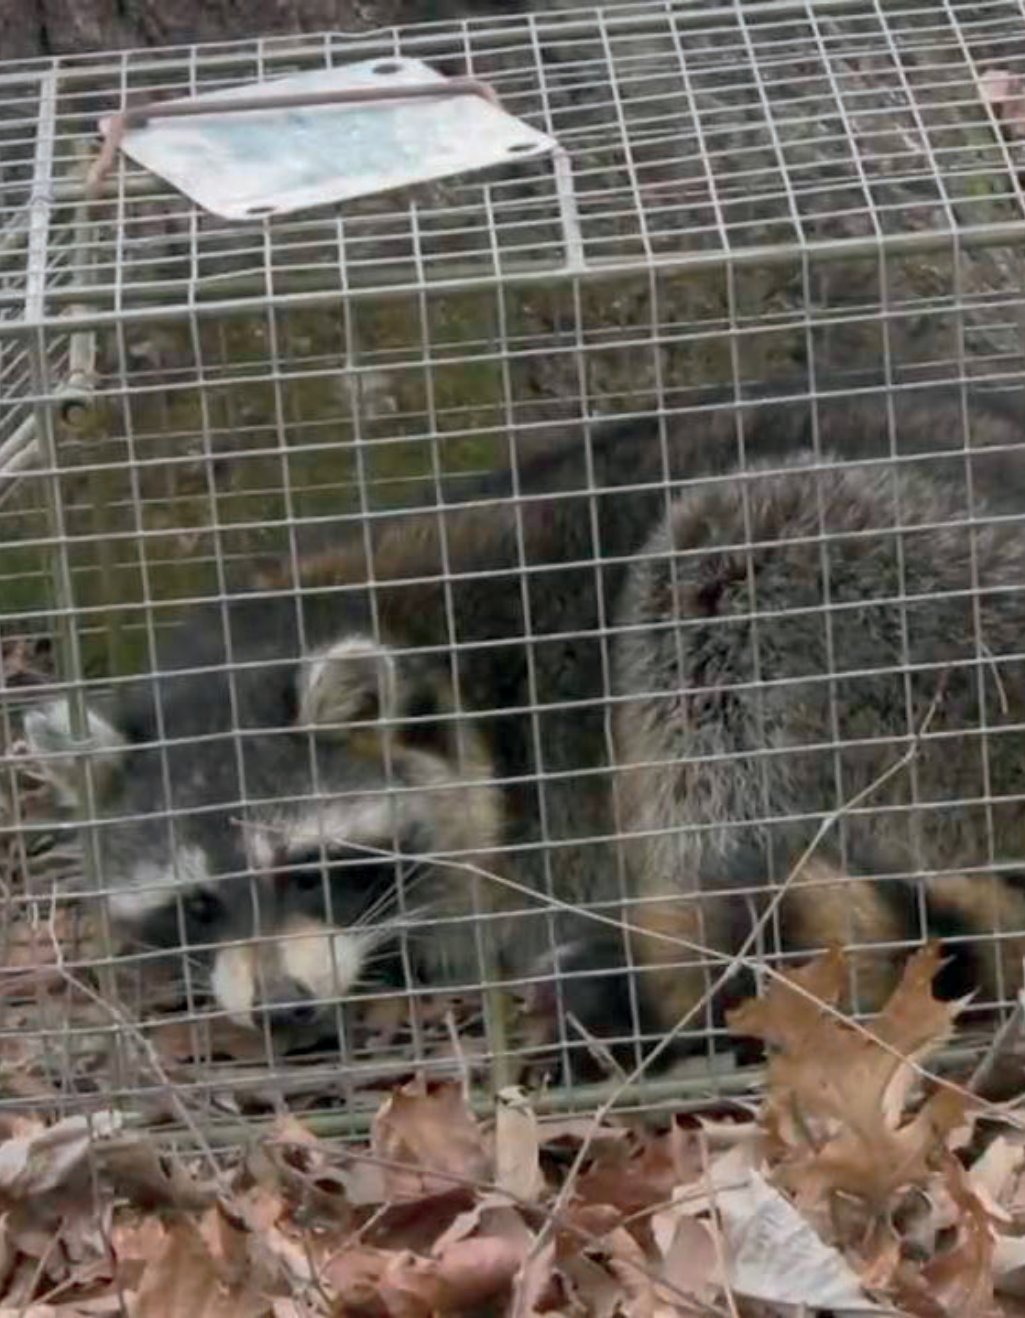
Trap Predators.
Hunters are quick to blame predators such as raccoons, opossum, skunks, coyotes, fox, or bobcats where populations of game wildlife are declining. However, in most cases the cause for game species population decline is often caused by reduced reproductive performance or survival of their young due to poor habitat or harvest management strategies. That is, it’s foolish to blame predators for poor quality deer hunting if your deer herd is “crashing” as a result of being overpopulated and is experiencing poor fawn production due to poor overall herd health. Or blame predators for a declining turkey population if you are not managing or providing quality nesting and brood rearing habitat to promote good poult survival. So before initiating efforts to remove predators, consider habitat quality and/or strategies you are applying to improve it. If habitat quality is not good, your time and money may best be spent managing habitat verses predator control. Having said this, on properties where habitat quality is generally good, intense localized predator control can increase survival/recruitment rates of species such as rabbits, quail, turkeys, and deer. Intense is the key word here. Simply throwing a few traps out on the weekends will not have much effect on predator populations. Having a significant impact will require intense trapping over a period of time that results in many predators being removed. It is also worth noting that predator populations can rebound quickly. Similar to the response of a deer herd after an aggressive harvest, a reduced predator population with less competition for quality resources will have increased reproductive rates. Thus, trapping efforts need to be applied every year to be most effective and produce the best results.
Plan and schedule timber harvest activities
If you have timber that needs to be harvested, cutting it during the dormant season (winter) or early in the growing season (spring) enhances its wildlife value during the first year after the harvest. Harvesting timber during this period gives plants the entire growing season to regenerate resulting in increased desirable food and cover for wildlife. Conversely, if timber is harvested in the middle of summer (mid-growing season) plants do not have as much time to germinate and grow. Thus, the resulting vegetation will not provide as much benefit to wildlife during the first year. Obviously, local timber markets and timber prices play a significant role in the decision to harvest timber, but if markets are right, harvesting during winter or spring will increase the wildlife value of the area during the first year.
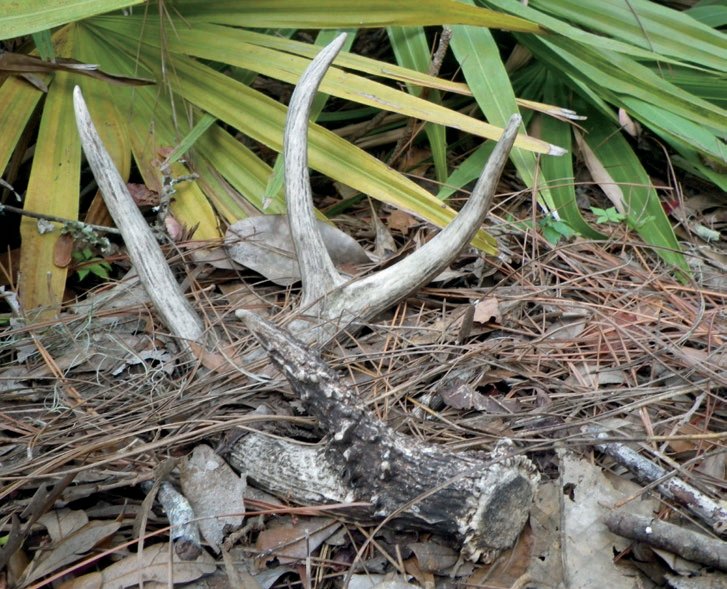
Collect shed antlers.
Trail cameras can be a great tool to help determine when bucks shed antlers on your property. Timing of antler shedding varies across the whitetail’s range. However, once you determine when it occurs on your property, it is safe to say that it will take place around the same time each year. Research has shown that bucks normally shed both antlers within 1-3 days. While conducting late winter camera surveys I’ve observed many bucks that shed both antlers within a matter of hours. Collecting antler sheds can be a fun spring activity for the whole family. Shed collecting not only provides a great opportunity to spend time with your family, but also provides some insight to the quality of your deer herd. After a few seasons, compare the quality of sheds found from different years. If your program is moving in a positive direction, you should be finding more and larger antlers each year. Obviously, larger antlers are easier to find! Key areas to concentrate your searches include food plots, fields, around feeders, and along trails where deer must jump (over fences, ditches, etc.). Training Labrador retrievers to find sheds has become relatively common and may offer additional outdoor adventures for you and your best friend.
Fertilize select roadside areas to increase food and cover for wildlife.
Roadsides and right-of-ways generally have more native plant growth than areas deeper in the forest – especially if there is a closed canopy. The abundance of vegetation along a roadside is the result of receiving additional sunlight. Coincidentally, areas along roadsides are usually areas that are easy to manage by disking, mowing and fertilizing to enhance the quality and quantity of plants beneficial to wildlife. Once spring green up begins, select areas that have wildlife friendly plants such as ragweed, greenbrier, honeysuckle, etc, and apply fertilize to enhance their growth and nutritional value. If you are fortunate enough to have a side broadcasting spreader, simply drive down the roadside broadcasting fertilizer. If you have a typical cyclone spreader, select areas you want to fertilize, then back the tractor up to the spot and spread the fertilizer. This method obviously takes more time than a side broadcast, but it more common. Although some people take soil tests to assess soil nutrient levels to determine how much fertilizer to apply, a general application is 200 lbs. per acre of a balanced fertilizer. An additional strategy that will promote desired plants/vegetation is to apply selective herbicides within the areas you are fertilizing or managing. Doing so will remove undesirable or less valuable plants and reduce competition for the vegetation that remains. One of my favorite times to apply spot-specific or roadside area fertilizer is a few weeks after the area has been burned.

Prune fruit trees.
Pruning is a management strategy that will improve the health of fruit trees as well as enhance fruit production. Moderate pruning is usually best. Heavy pruning dwarfs trees and may delay fruit bearing, and is especially undesirable for young trees. Proper pruning shapes the tree’s structure for life. Prune young trees to establish a strong scaffold system with wide-angled, well-spaced branches that will not split from high winds or heavy crops. A well-trained young tree bears heavy crops early and continues to bear efficiently. The dormant season is the best time to prune fruit trees, although dead or diseased branches may be removed any time. Prune fruit trees regularly, preferably every year. It is a mistake to neglect trees for years and then prune them severely. Old trees, such as in an abandoned apple orchard, can sometimes be rejuvenated and will respond better with an initial heavier pruning.
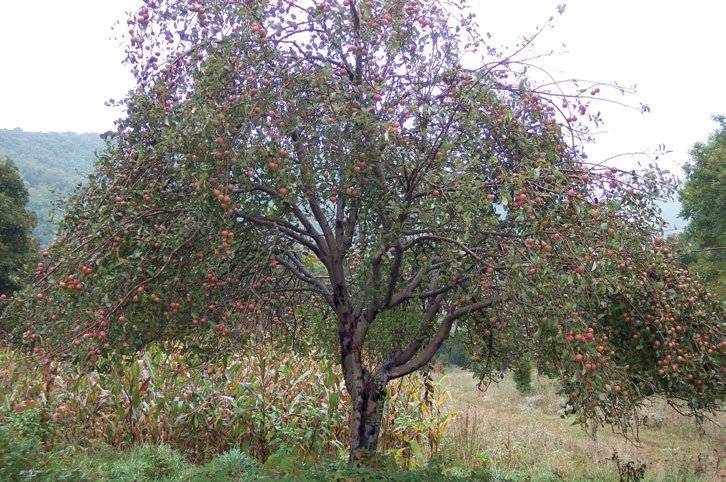
Plant supplemental fruit trees and/or other wildlife friendly plantings.
Supplementing your property with plantings of oaks, chestnuts, pears, crabapples, plums, or other wildlife friendly trees and shrubs is a great way to enhance both the esthetics and wildlife value of your property. Late winter through early spring (before spring green up) is the best time to plant most wildlife friendly trees/shrubs. Planting a variety of trees/shrubs will ensure that a variety of food sources are available throughout the year. The plantings should be strategically placed around food plots or fields, along roadsides/intersections, or other areas that will receive adequate sunlight. If quail management is one of your goals and your property has lots of open land, you may consider establishing hedgerows for additional quail habitat. Hedgerows are often created using wildlife friendly plantings such as plums, drawf chinquapin or sawtooth oaks along with other shrubs. Hedgerows can be enhanced by planting adjacent strips of partridge pea or food strips of corn, Egyptian wheat, sorghum, or millets this spring/summer. The Wildlife Group is an excellent source for obtaining beneficial wildlife trees/shrubs as well as getting advice on planting strategies and tips.
Deer stand preventative maintenance
While it is not a fun job, deer stand maintenance will prolong the life of stands and their accessories and in some cases will prevent tree damage during the growing season. Things such as removing seat cushions, camo wraps, shooting rest padding, and/or actually pulling deer stands out of the woods and storing them out of the weather will significantly increase their life and save money in the long run. Squirrels and Mother Nature can and will ruin a deer stand in as little as one summer. Taking the time to label parts (cushions, wraps, ladder sections, etc.) will help keep loose items “marked” and make reinstallation next fall much quicker and easier. Before storing stands for the summer I check them for needed repairs, touch them up with paint, and lubricate any moving parts. This helps protect the stands but also allows time for the odors associated with paints and oils to fade before next fall. If you have enclosed shooting houses, take time now to close windows, doors, and make attempts to “seal it up” where needed to keep unwanted pests out. While exterminating a few wasps is easily done next fall, removing 6 months’ worth of owl droppings is another story! If you plan to leave ladders and lock on stands in the woods over the summer be sure to loosen the fasteners, straps, or chains that attach them to the tree to allow room for the tree to grow during summer. You may be amazed how fast a tree can “absorb” (grow around) a chain! From a safety standpoint, I replace all ratchet straps used to secure lock-ons and ladders to the tree every year. Many tree stand accidents, particularly with lock-ons, are caused by not replacing a $10 strap. As a side note, while in the area, I often use this time to do a little scouting for next hunting season as well.

Erect new wood duck boxes and/or clean out existing boxes in preparation for the nesting season.
January and February is the time to install and/or clean out existing nest boxes in preparation for the nesting season. Wood duck nesting season varies but is generally February through May. For existing boxes, start by cautiously making sure there are no critters in the box. Many other animals use the boxes. Animals that are commonly found in wasps, fire ants, gray squirrel, flying squirrel, rat snakes, screech owls and flycatchers. Always be careful when opening wood duck nest boxes – particularly if you are on a ladder in the water! Once the box is clear of other animals, clean the box out completely. Small hand held gardening tools are handy for this task. Well-designed boxes have hinged bottoms allowing you to drop the bottom and “dump” any contents. Once cleaned out, place 4″-6″ of sawdust or wood shavings in the bottom of the box for nesting material. I prefer shavings versus sawdust because they do not absorb moisture as easily which causes rotting and mold – check with a wood shop that uses a planer for shavings. Cedar chips that are used for dog bedding can be good nesting material as well. Erect new boxes before February in highly visible areas near good brood rearing habitat. Adequate protective cover is essential for brood survival. Brood habitat should include a dependable source of water with plenty of shrubs and emergent vegetation for food and cover. These areas are generally along the perimeter of a pond or swamp. Wood duck boxes should be cleaned out and inspected at least once per year. Building wood duck boxes, putting them out and checking them after nesting season to monitor use is always an adventure and gratifying. This is a great project to include children. There is a lot of hands on work and makes them feel good about helping animals…plus it teaches them good stewardship.
Plant shrubs to screen unnatural structures or add aesthetics.
While this has nothing to do with wildlife management, it may enhance experiences around the property you hunt. Late winter is a great time to install or transplant shrubs or other plants to hide unnatural objects around your camp or property. Examples of such items may include electric boxes, AC units, pump houses, clay target throwers, etc. While purchasing shrubs or plants is always an option, consider transplanting natural plants that exist on your property. These plants are well adapted for the soils and climate of you property and best of all they are free. Choose shrubs/plants that are evergreen or will provide the “cover” needed to do the job. A few plants I have had great success with include wax myrtle, broomsedge grass, and various holly and ferns. Transplanting small dogwood trees is a great way to add spring highlights to key areas. When digging up plants keep as much of the root ball intact as possible. That is, leave plenty of room around the base of the plant and cut a circle around the plant with a shovel working deeper and under the plant until the root mass (full of dirt) breaks free. Handle the root mass with care while transporting to its new home. The goal is to keep as much of the existing soil around the roots in place as possible – which protects small feeder roots of the plant. A large plant container (black pot that shrubs or trees are grown in) is useful to have when transporting to protect the root ball. Dig the new hole larger than the original and loosen soil in and around the hole. After placing the plant in its new home, use soil from the hole to pack around the root ball. Ensure no air pockets exist and firmly pack the soil (firm not compact) around the plant. If possible, water the plant. During its first year of life (particularly the first summer), the shrub or tree will need a little TLC. Make sure it has plenty of water and keep competing vegetation under control. Depending on the situation, native shrubs can provide great screen along property lines where needed.
Provide supplemental feed for deer.
This recommendation/activity is directed towards landowners or managers that have done a good job managing natural habitat, food plots, and deer herd conditions. That is, before thinking about starting a supplemental feeding program for deer on your property, you need to take care of the “important” things first. In other words, you can not hang shutters if you do not have a house – and you will not grow big bucks and a healthy herd with supplemental feed alone. It is a supplement to other management strategies and activities. However, when done in combination with other core management practices, supplemental feeding can be valuable for deer. Be sure to check your local game laws before providing feed on your property. Many states do not allow the use of feed during hunting season. Ideally, providing supplemental feed throughout the year is best, but supplemental feed will be most used and most valuable for deer in late winter and late summer. These are periods when natural food availability is at its lowest. So if you have a limited budget and can not or do not want to feed throughout the year, provide it during the periods deer need it most.
Mow early or wait until early summer.
If you have areas that need to be mowed, mow them before turkey nesting season (which is generally March-May in most of the Southeast) to prevent destroying nests. Unless necessary, I recommend leaving as much of roadsides, fields, and other openings un-mowed to provide additional nesting habitat for turkeys and other birds. Much turkey nesting research shows that these areas are valuable and heavily used for nesting by hen turkeys. Even if turkeys do not use all of the un-mowed areas, these areas will host an alternate food source (small mammals – rats, mice, and rabbits) for potential turkey nest predators. Having this “extra habitat” also increases the “search area” and reduces predator success in finding turkeys and their nests giving turkeys a better chance of producing a clutch and surviving. This strategy is more valuable for landowners whose property has limited nesting habitat.
Make preparations for spring turkey season.
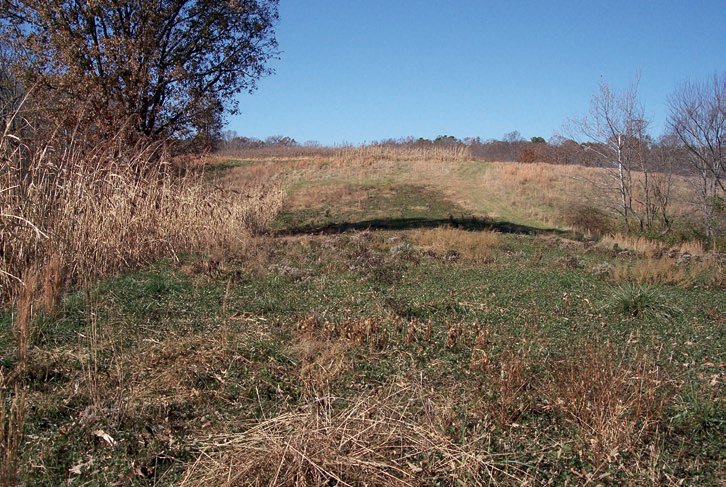
One of the best ways to ensure you have gobblers in the spring is to manage your property throughout the year to promote quality nesting cover (see turkey habitat management article in the January-February 2009 issue for more detail on creating nesting habitat). I have worked with many landowners that had gobblers on their property most of the year, but they disappeared during the spring. After closer inspection, their property didn’t have good nesting habitat and the hens had moved to adjacent properties carrying the gobblers with them. Quality nesting habitat is created by maintaining a patch work of early successional habitat throughout your property. Burning, herbicide applications, strip disking, timber harvest, and roadside management strategies are all tools that can help you create quality nesting habitat for turkeys. Besides the key element of creating nesting habitat, creating strutting zones in strategic areas around your property will help put turkeys where you want them to be. February or early March is a good time to create strutting areas. A mower, disk, fire or combination of these are the tools of choice for this task. Fire is my preferred tool if it can be used. Strutting areas are simply areas that have relatively little or open ground cover that will be attractive to turkeys for breeding courtships. I often create these areas between roosting and nesting areas and preferably near a food source such as an old field, chufa patch, or food plot. Areas that often lend themselves well to creating strutting areas are powerlines, old fields, food plots and roadsides. Lastly, mowing hunter access trails will help you slip into areas to hunt without making a bunch of noise. If these trails go through thick habitat, don’t be surprised if turkeys use the same trails.
Obtain an updated aerial photograph of your property.
Updated aerial photographs are an invaluable tool in land/wildlife management. In fact, it is the first thing I want to see when someone asks me to help them improve their property for wildlife or create a management plan. In my opinion, aerial photographs are best if taken during the dormant season when deciduous trees have lost their leaves (i.e., late winter or early spring before green up). This allows you to distinctly see differences in pine or evergreen habitats and hardwoods. Infrared images taken during the growing season can do this as well, but I prefer color photos taken during winter. An aerial photo puts everything into perspective by allowing you to see the various habitats and how they lay across a property. While this may sound odd, it also allows you to see habitat diversity and layout of your neighbor’s land which may play a role in how you manage your property. For example, if your goal was to manage for turkeys and you see on an aerial that your neighbor’s property is primarily mature timber, increasing nesting habitat on your property will likely attract nesting hens (and gobblers) from the surrounding property in the spring (not that you want to “steal” turkeys from your neighbor. Ha!) Also, aerial photographs often become my “drawing board” when devising plans to improve a property. That is, having a map of the entire property in front of me I can see everything: where various habitats are on the property, where food plots are located, etc. Having this, I can visualize how hunters, deer or other wildlife use the property and/or how we can improve the property to not only ensure quality habitat is provided across the landscape, but where habitat management can be used to direct wildlife to areas for improved hunting. There are many companies that specialize in taking aerial photographs, adding geographic features (roads, property lines, habitats, etc.), and providing a custom aerial map to the customer’s specifications. While using these companies is obviously more expensive that pulling your property up on something like GoogleEarth, the resulting map/photo will be of high quality, up-to-date, customized to your liking, and can be uploaded into GIS type programs that allow you to pull useful information about your property (e.g, number of acres of each habitat type) and create detailed habitat management plans. While I prefer professionally flown custom maps to work with, I often use free online satellite imagery, such as GoogleEarth, Bing Maps, etc. if needed. The downside of these images is that they are often outdated and harder to work with in professional mapping programs which can handicap your map building/management planning process.