
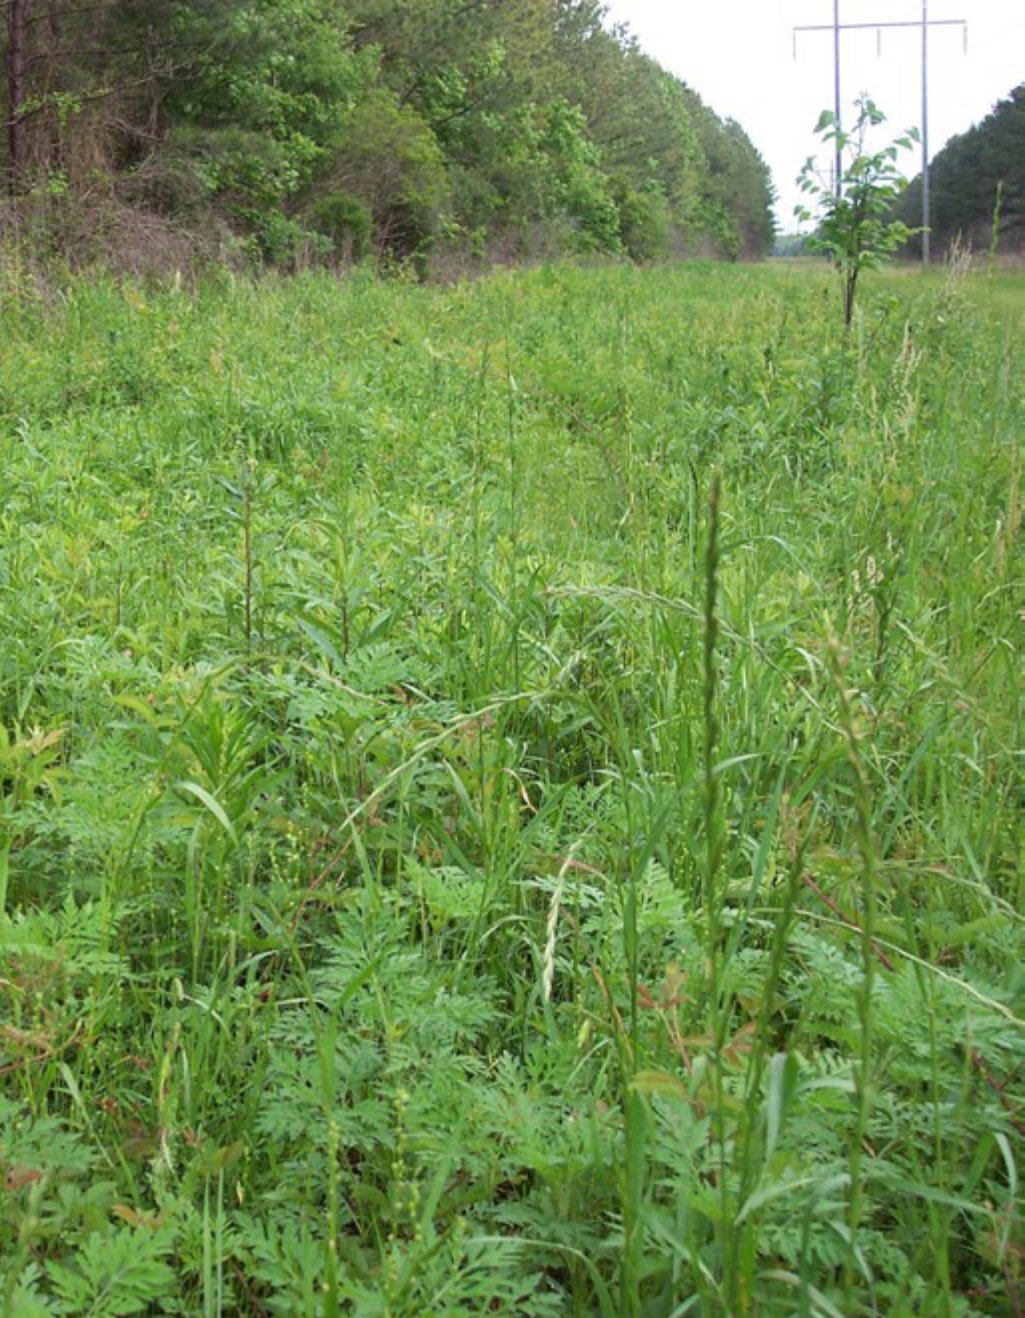
February/March 2018
Obtain an updated aerial photograph of your property
Updated aerial photographs are an invaluable tool in land/wildlife management. In fact, it is the first thing I want to see when someone asks me to help them improve their property for wildlife or create a management plan. In my opinion, aerial photographs are best if taken during the dormant season when deciduous trees have lost their leaves (i.e., late winter or early spring before green up). This allows you to distinctly see differences in pine or evergreen habitats and hardwoods. Infrared images taken during the growing season can do this as well, but I prefer color photos taken during winter. An aerial photo puts everything into perspective by allowing you to see the various habitats and how they lay across a property. While this may sound odd, it also allows you to see habitat diversity and layout of your neighbor’s land which may play a role in how you manage your property. For example, if your goal was to manage for turkeys and you see on an aerial that your neighbor’s property is primarily mature timber, increasing nesting habitat on your property will likely attract nesting hens (and gobblers) from the surrounding property in the spring (not that you want to “steal” turkeys from your neighbor. Ha!). Also, aerial photographs often become my “drawing board” when devising plans to improve a property. That is, having a map of the entire property in front of me, I can see everything, where various habitats are on the property, where food plots are located, etc. Having this, I can visualize how hunters, deer or other wildlife use the property and/or how we can improve the property to not only ensure quality habitat is provided across the landscape, but where habitat management can be used to direct wildlife to areas for improved hunting. There are many companies that specialize in taking aerial photographs, adding geographic features (roads, property lines, habitats, etc.), and providing a custom aerial map to the customer’s specifications. While using these companies is obviously more expensive that pulling your property up on something like GoogleEarth, the resulting map/photo will be of high quality, up-to-date, customized to your liking, and can be uploaded into GIS type programs that allow you to pull useful information about your property (e.g., number of acres of each habitat type) and create detailed habitat management plans. While I prefer professionally flown custom maps to work with, I often use free online satellite imagery such as GoogleEarth, Bing Maps, etc. if needed. The downside of these images is that they are often outdated, particularly if you are actively managing habitats.
Initiate Late Winter/early Spring Strip Disking
Are you looking for an inexpensive management strategy that can significantly improve the wildlife value of your property? Strip disking is an excellent management practice that can produce exceptional food and cover for various wildlife. If you have a tractor and a disk the only expenses of strip disking are fuel and time. Simply find areas within relatively open habitat, drop the disks, and drag them. Obviously, the tractor operator needs to pay attention to avoid stumps or other obstacles to prevent damaging the tractor or disks. The goal is to just “stir” the soil to promote germination of seeds in the natural seed bank. Generally speaking, one pass is all that is needed. Disking can be done along roadsides, in or around old fields, and within thinned pine plantations or mature longleaf stands. Disking strips 10-30 feet wide in late winter and early spring will stimulate the growth of desirable native quail food plants such as partridge pea and beggarweed. The new succulent vegetation that grows in the strips will also attract insects. Late winter – early spring is also the best time to promote high quality deer browse as it promotes broadleaf weed growth. These areas can be managed by re-disking every other year. The time of year you disk will influence the types of plants that colonize. For example, winter disking produces heavy-seeded quail foods such as partridge pea and ragweed, while disking in April increases the production of important seed-producing grasses such as panic grass. Disking in June favors grasses and green vegetation that attracts insects and a number of major seed plants that turkeys and quail readily feed upon in the fall. In general, seasonal disking can provide a diversity of seed producing plants for quail and turkeys as well as quality browse plants for deer.
Mow early or wait until early summer
If you have areas that need to be mowed, mow them before turkey nesting season (which is generally March-May in most of the Southeast) to prevent destroying nests. Unless necessary, I recommend leaving as much of roadsides, fields, and other openings un-mowed to provide additional nesting habitat for turkeys and other birds. Much turkey nesting research shows that these areas are valuable and heavily used for nesting by hen turkeys. Even if turkeys do not use all of the un-mowed areas, these areas will host an alternate food source (small mammals – rats, mice, and rabbits) for potential turkey nest predators. Having this “extra habitat” also increases the “search area” and reduces predator success in finding turkeys and their nests giving turkeys a better chance of producing a clutch and surviving. This strategy is more valuable for landowners whose property has limited nesting habitat.
Make preparations for spring turkey season
One of the best ways to ensure you have gobblers in the spring is to manage your property throughout the year to promote quality nesting cover (see key habitat management article in the January-February 2009 issue for more detail on creating nesting habitat). I have worked with many landowners that had gobblers on their property most of the year, but they disappeared during the spring. After closer inspection, their property didn’t have good nesting habitat and the hens had moved to adjacent properties carrying the gobblers with them. Quality nesting habitat is created by maintaining a patchwork of early successional habitat throughout your property. Burning, herbicide applications, strip disking, timber harvest, and roadside management strategies are all tools that can help you create quality nesting habitat for turkeys. Besides the key element of creating nesting habitat, creating strutting zones in strategic areas around your property will help put turkeys where you want them to be. February or early March is a good time to create strutting areas. A mower, disk, fire or combination of these are the tools of choice for this task. Fire is my preferred tool if it can be used. Strutting areas are simply areas that have relatively little or open ground cover that will be attractive to turkeys for breeding courtships. I often create these areas between roosting and nesting areas and preferably near a food source such as an old field, chufa patch, or food plot. Areas that often lend themselves to creating strutting areas are powerlines, thinned pine rows, and roadsides. Lastly, mowing hunter access trails will help you slip into areas to hunt without making a bunch of noise. If these trails go through thick habitat, don’t be surprised if turkeys use the same trails.
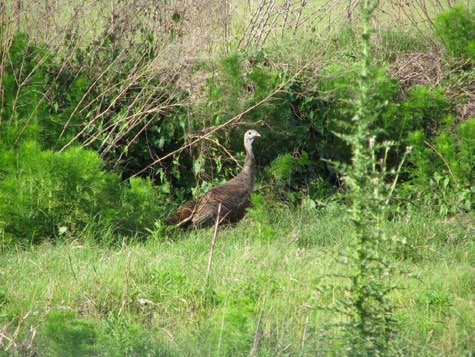
Plant supplemental fruit trees and/or other wildlife friendly plantings.
Supplementing your property with plantings of oaks, chestnuts, pears, crabapples, plums, autumn olive, etc. is a great way to enhance both the esthetics and wildlife value of your property. Late winter through early spring (before spring green up) is the best time to plant most wildlife friendly trees/shrubs. Planting a variety of trees/shrubs will ensure that a variety of food sources are available throughout the year. The plantings should be strategically placed around food plots or fields, along roadsides/ intersections, or other areas that will receive adequate sunlight. If quail management is one of your goals, and your property has lots of open land, you may consider establishing hedgerows for additional quail habitat. Hedgerows are often created using wildlife friendly plantings such as plums, dwarf chinquapin or sawtooth oaks along with other shrubs. Hedgerows can be enhanced by planting adjacent strips of partridge pea or food strips of corn, Egyptian wheat, sorghum, or millets this spring/summer. The Wildlife Group is an excellent source for obtaining beneficial wildlife trees/shrubs as well as getting advice on planting strategies and tips.
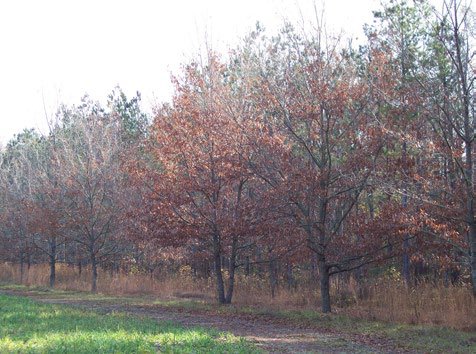
Prune fruit trees.
Pruning is a management strategy that will improve the health of fruit trees as well as enhance fruit production. Moderate pruning is usually best. Heavy pruning dwarfs trees and may delay fruit bearing, and is especially undesirable for young trees. Proper pruning shapes the tree’s structure for life. Prune young trees to establish a strong scaffold system with wide-angled, well-spaced branches that will not split from high winds or heavy crops. A well-trained young tree bears heavy crops early and continues to bear efficiently. The dormant season is the best time to prune fruit trees, although dead or diseased branches may be removed any time. Prune bearing fruit trees regularly, preferably every year. It is a mistake to neglect trees for years and then prune them severely. Old trees, however, can sometimes be rejuvenated with heavier pruning than younger trees require.
Fertilize select roadside areas to increase browse and nutritional value for wildlife.
Roadsides and right-of-ways generally have more native plant growth than areas within the forest. This is because of the additional sunlight these areas receive. Coincidentally, areas along roadsides are usually areas that are easy to manage by disking, mowing and fertilizing to enhance the quality and quantity of plants beneficial to wildlife. Once spring green up begins, select areas that have wildlife friendly plants such as ragweed, greenbriar, honeysuckle, etc., and apply fertilizer to enhance their growth and nutritional value. A side or directional broadcasting spreader is the implement of choice for this task. It slings the fertilizer to one side of the tractor allowing the user to simply drive down the roadside broadcasting fertilizer. Although some people take soil tests to assess soil nutrient levels to determine how much fertilizer to apply, a general application is 200 lbs. per acre of a balanced fertilizer.
Plan and schedule timber harvest activities
If you have timber that needs to be harvested, cutting it during the dormant season (winter) or early in the growing season (spring) enhances its wildlife value during the first year after the harvest. Harvesting timber during this period gives plants the entire growing season to regenerate resulting in increased desirable food and cover for wildlife. Conversely, if timber is harvested in the middle of summer (mid-growing season) plants do not have as much time to germinate and grow. Thus, the resulting vegetation will not provide as much benefit to wildlife. Obviously, local timber markets and timber prices play a significant role in the decision to harvest timber, but if markets are right, harvesting during winter or spring will increase the wildlife value of the area during the first year.
Calculate acreage of food plots
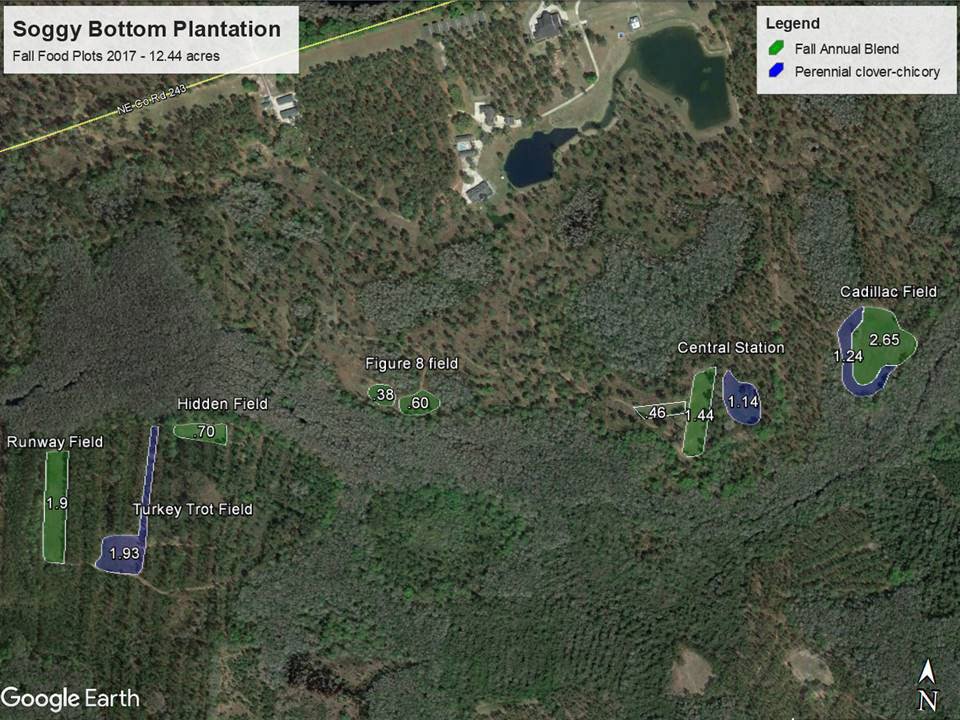
Late winter can be a down time for many landowners. Most deer seasons are close to being over and many hunters are already thinking about what can be done to improve their property and hunting for next season. In the world of food plots, knowing the size of your fields can be critical to growing successful crops. Technology has come a long ways since I was a young biologist. One of the easiest ways to determine acreages of areas such as food plots, timber stands, or lakes is by using Google Earth Pro. I have found this free software program very user friendly and accurate. If you are not familiar with it, simply search the internet and download it. The program is relatively easy to learn/navigate but has help/tutorials if needed. If you are more “old school” and need to “put your hands on it” there are several other ways to measure and determine acreage. A few of these include using a handheld GPS and simply make a lap around the plot, using a range finder to shoot/determine lengths of plot perimeters, or simply using the old tried and true pacing method. The ability to pace off a distance with reasonable accuracy is useful for many applications when managing a property. In fact, I still use the pacing method for many applications, particularly when roughing in new food plots. To determine the length of your pace, follow the steps below. Once you know the length of your pace, simply measure the length and width of a food plot to determine its acreage.
Determining the length of your pace:
- Starting with one foot, count a pace every time the opposite foot is put down. With a measuring tape or length of rope, mark off 100 feet along a dirt road or on a food plot.
- Using a normal, comfortable stride, pace the 100 feet about 4 times, noting each time the number of paces it takes to cover the distance. (Note: For the best accuracy, it is important to walk at a normal pace rather than exaggerated steps.)
- Divide the sum of the total number of paces by the number of times you paced the distance. This figure represents the average number of paces it took to walk the 100 feet.
- The length of your pace will be equal to 100 feet divided by the average number of paces it took to travel the 100 feet (calculated in step 3).
An example of stepping off measurements to calculate the acreage of a food plot:
A person with an average pace of 5.6 feet found that a rectangular food plot measured 64 paces by 97 paces. What is the acreage of the food plot?
- First convert paces to feet: 64 paces x 5.6 = 358.4 ft., and 97 paces x 5.6 = 543.2 ft.
- Next calculate the area of the food plot in square feet: area of a rectangle = length x width, so area = 358.4 ft. x 543.2 ft. = 194,682.9 sq. ft.
- Then divide the area of the compartment by the number of square feet in an acre (43,560 ft.): thus 194,682.9 sq. ft. divided by 43,560 sq. ft. = 4.5 acres.
Knowing the exact size of a food plot is extremely useful when it comes to figuring up proper amounts of lime, fertilizer, and seed. Over applying any of these is not only a waste of money, but also can negatively impact your crop performance. Many times, seed is put down too heavy on food plots because no one knows the actual size of the area being planted. “More is better” does not apply to food plot planting. Crops need to be planted at or close to the recommended rate. Too many seeds per square foot results in a poor stand when plants begin competing for moisture and nutrients. Take a day this winter to make a lap around your plots and get an accurate reading of the areas you plant, it will pay off.